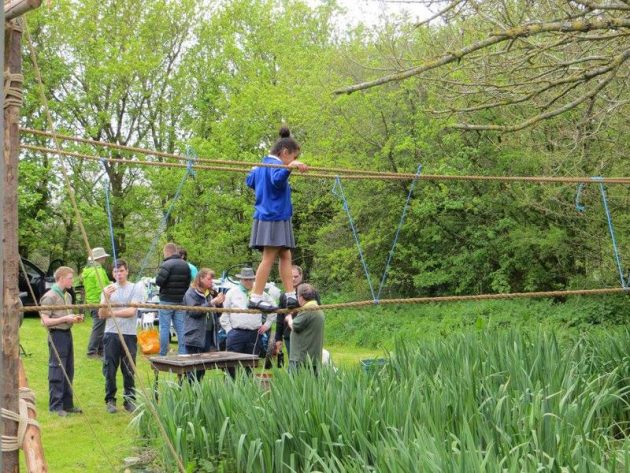
Every year 2nd Ifield Scout Group construct and operate a Rope Bridge over a small pond at the annual Ifield May Fayre. In this post, we provide a brief summary of how we construct the rope bridge for those who are interested.
Equipment Required
- Approx 12 Pioneering Poles
- Approx 15 Lashing Ropes
- Rope suitable for Handrails / Footrail
- Two 3/2 blocks and tackles
- Three rope pullies
- Various Pegs and Ground Anchors / Stakes
- Assorted Rope (to tie Handrail / Footrails together)
- Some in-situ Trees!
Constiuent Parts
- Dead Man’s Anchor Point
- Tensioning System (Block and Tackles)
- Pioneering Frame
- Handrails / Footrails
- In-situ trees (as second attachment point)
Construction
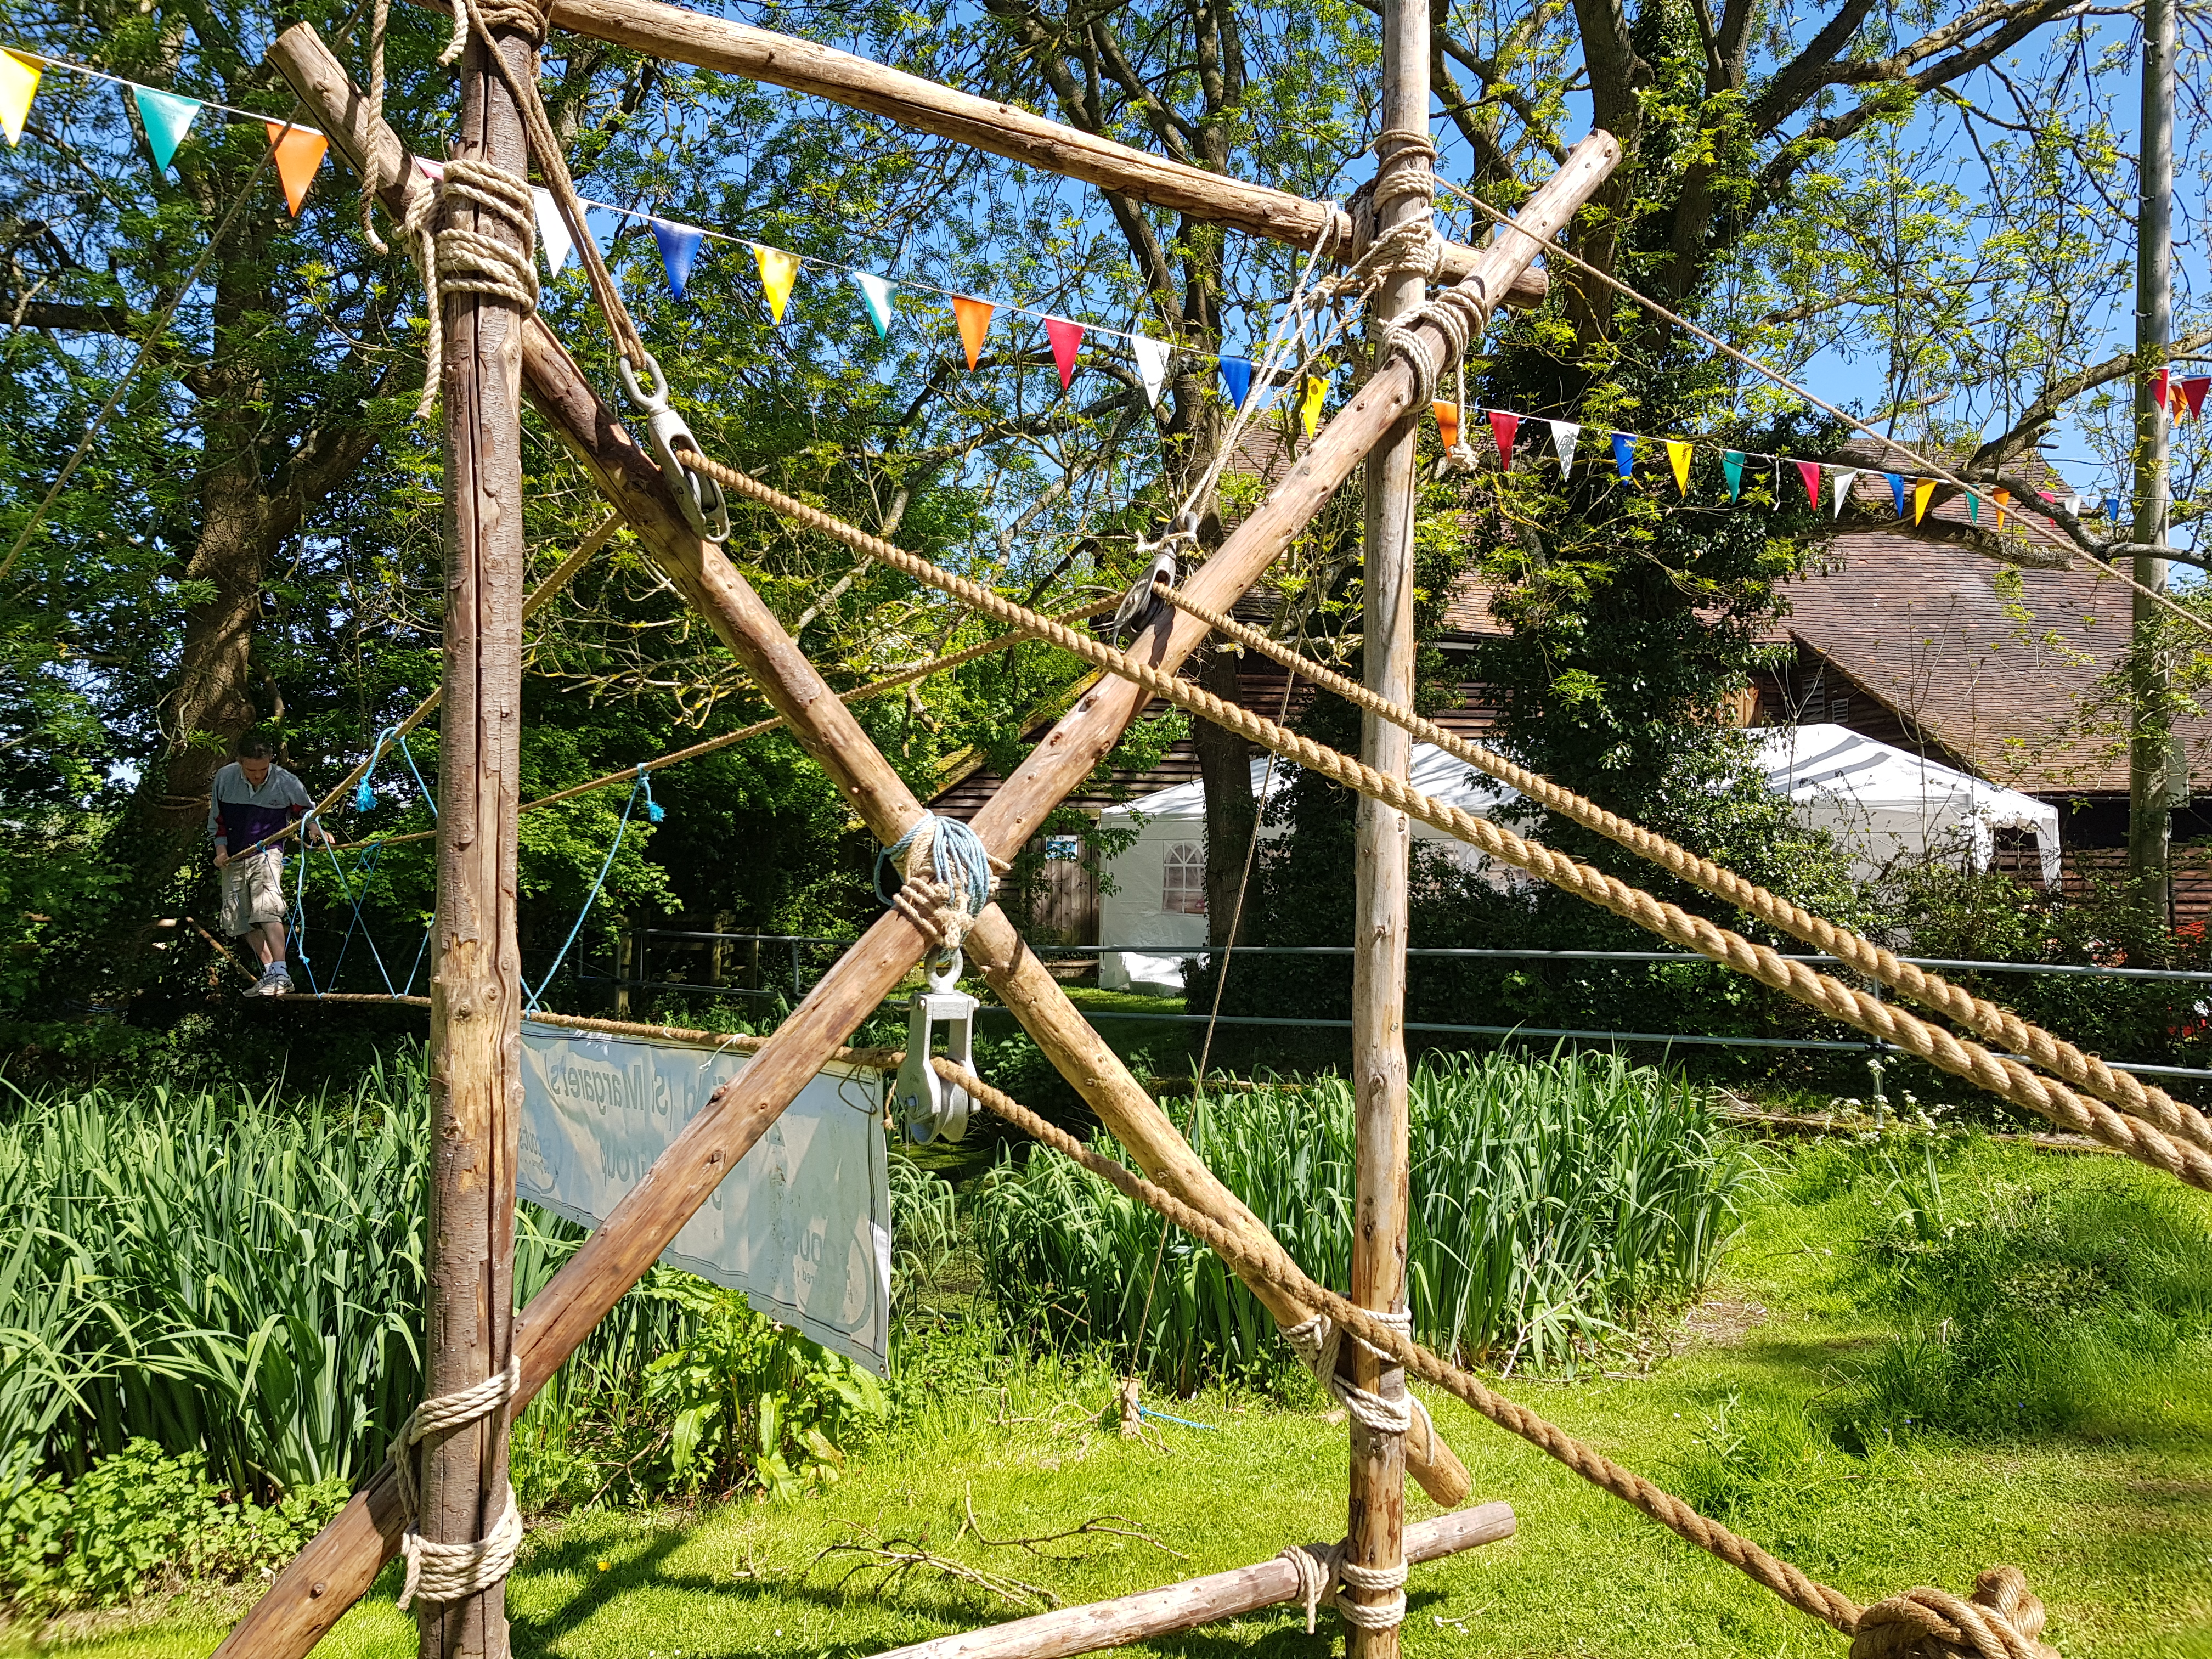
1. The initial step is to create the pioneering structure which costs of a Trestle style layout. A trestle is the basic component for building a bridge in a pioneering project. It is used to support the walkways. The most basic form of a trestle is an H-frame. It consists of two legs, two ledgers, and two cross braces. All of the lashing on the H-frame trestle are done with two types of lashings: a square lashing and a diagonal lashing. The ledgers are lashed to the legs with square lashings. Although it might not look like it, the cross braces are also lashed to the legs with square lashings, not a diagonal lashing. A diagonal lashing is used to lash the two cross braces together where they cross in the centre. You can see more information about the process here.
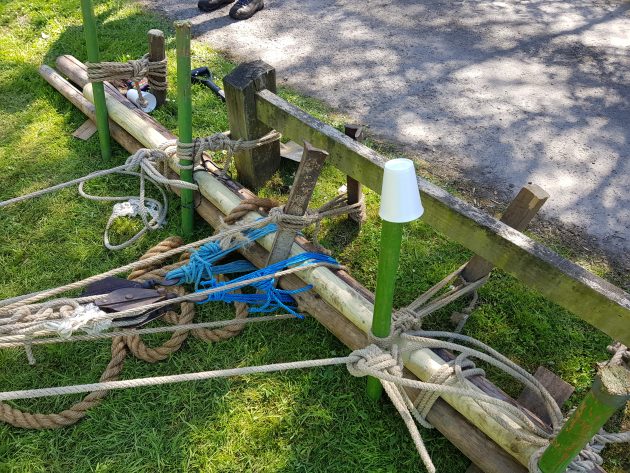
2. The next step is to create a dead mans anchor. This is what is used to tie the ropes back to which are under tension. We use a log and picket anchor that is easy to construct.
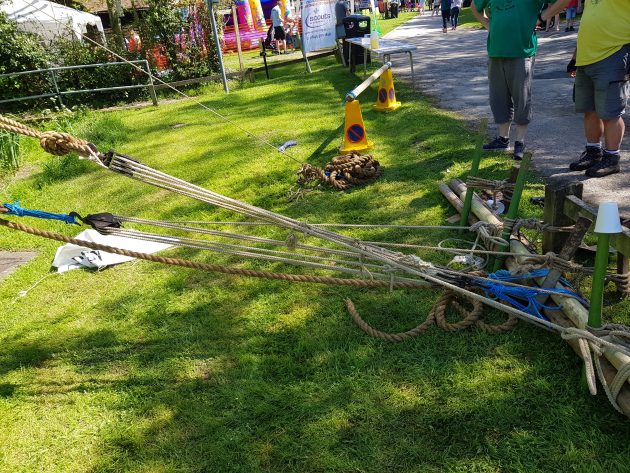
3. The next step is to prepare the block and tackles. These are used to tension the Handrails and Footrails once the bridge is built. For safety, our bridge also has backup lines in case the block and tackles fail.
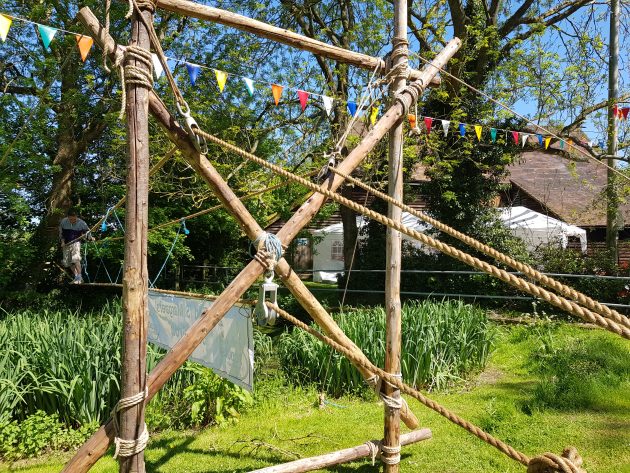
4. Once the preparation work is complete, we are in a position to stand up the trestle pioneering structure and add guy ropes to hold it in position. Its important that the angle is slightly dissected as the image shows.
5. We are now in a position to attach the Handrails and Footrails to the conveniently located in-situ trees. This is the non adjustable side of the rope system over the other side of the pond.
6. We can now attach the Footrail and Handrails to our block and tackle set up earlier on. We use a Bowline on the Bight for this. This is the point we also add our second safety lines in case the block and tackle fails.
7. The final step is to tie the handrails and footrails together for stability. You now have a fully functioning rope bridge!
The bridge is constructed under supervision of Keith Prior (who has been leading its construction for many years). Keith is also our D of E Advisor in Crawley District. If you are interested in finding out more, you can contact him here. Please note, this is a simplified article on how we construct the bridge, please don’t go out and create your own based solely on the steps in this post!

You must be logged in to post a comment.